
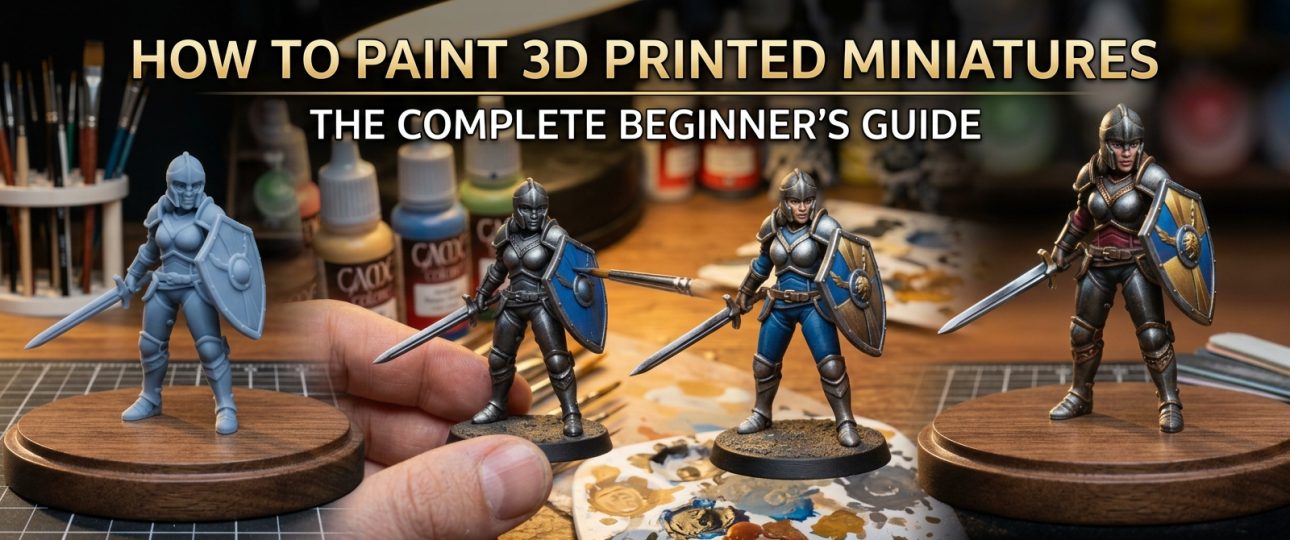
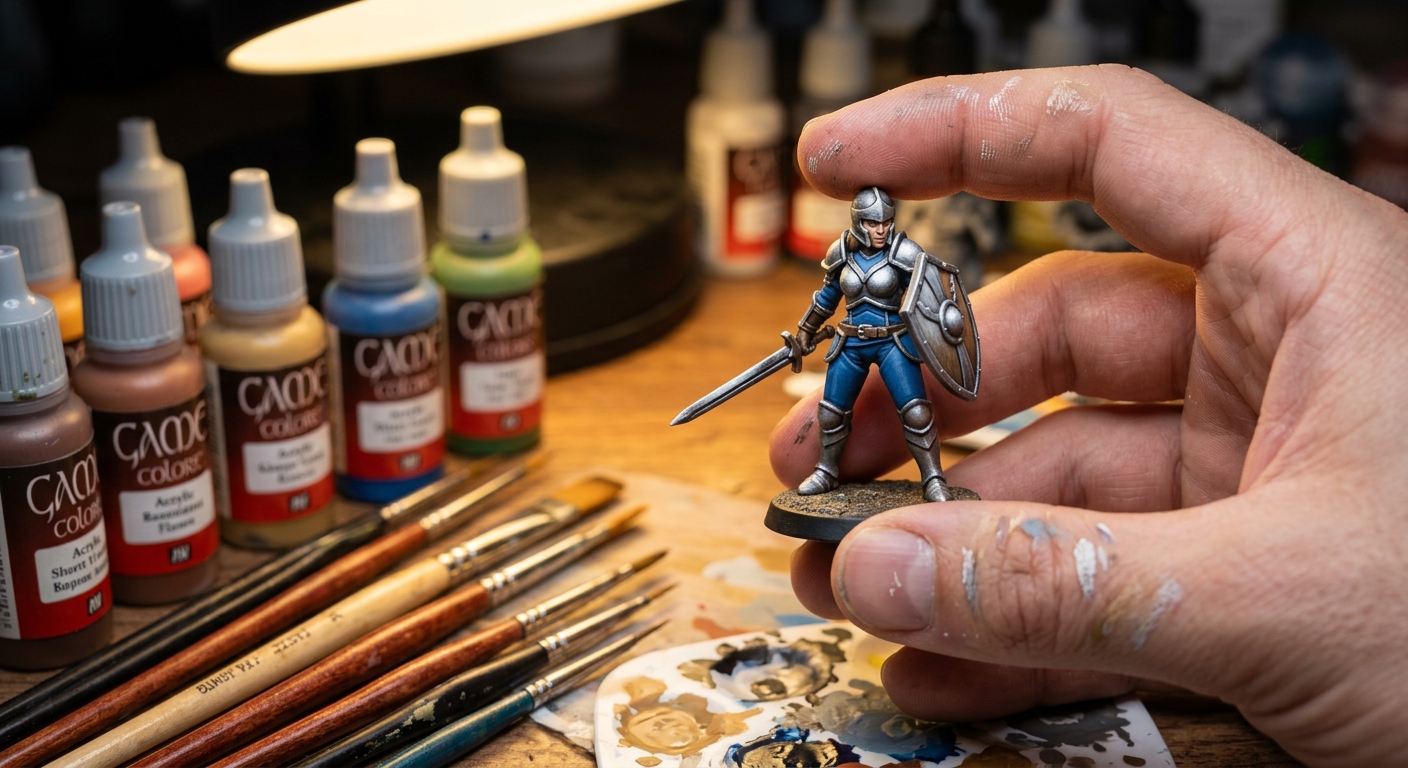
A freshly Paint 3D printed miniature — fresh off the plate, still showing every layer line — is only half the project. The other half is paint, and it’s where most 3D printed figures go from “obviously plastic” to genuinely display-worthy. This guide walks through the full process: prepping the print, choosing the right paint for 3d prints, and sealing the final result.
Why 3D Printed Miniatures Need Extra Prep (Unlike Injection-Molded Minis)
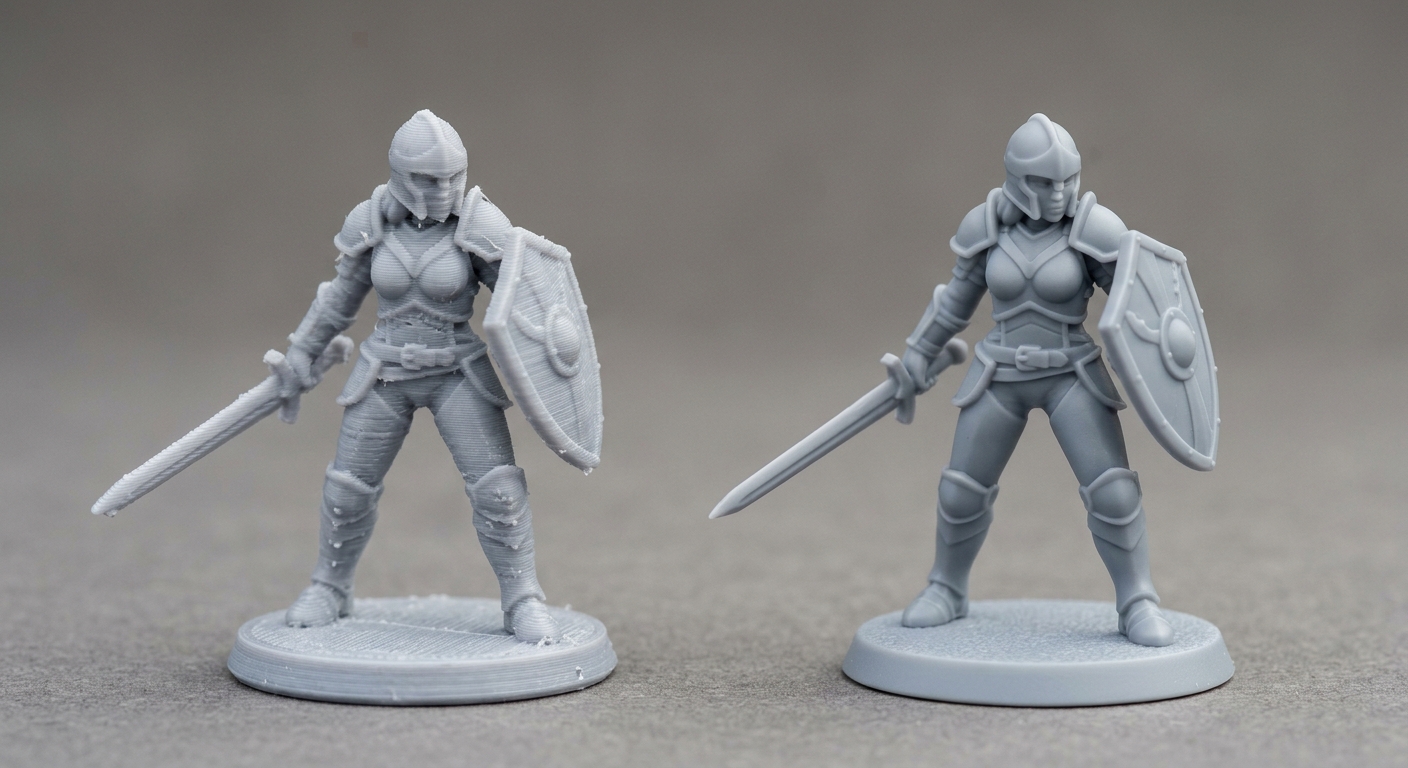
Traditional injection-molded miniatures (like classic Warhammer blister packs) come with smooth, mold-finished surfaces. 3D printed miniatures — whether FDM or resin — come with visible layer lines and sometimes support marks. That means the prep stage matters more here than it does for factory-made minis. Skipping it is the #1 reason a paint job on a 3D printed figure looks rough.
Step 1: Clean and Prep the Print
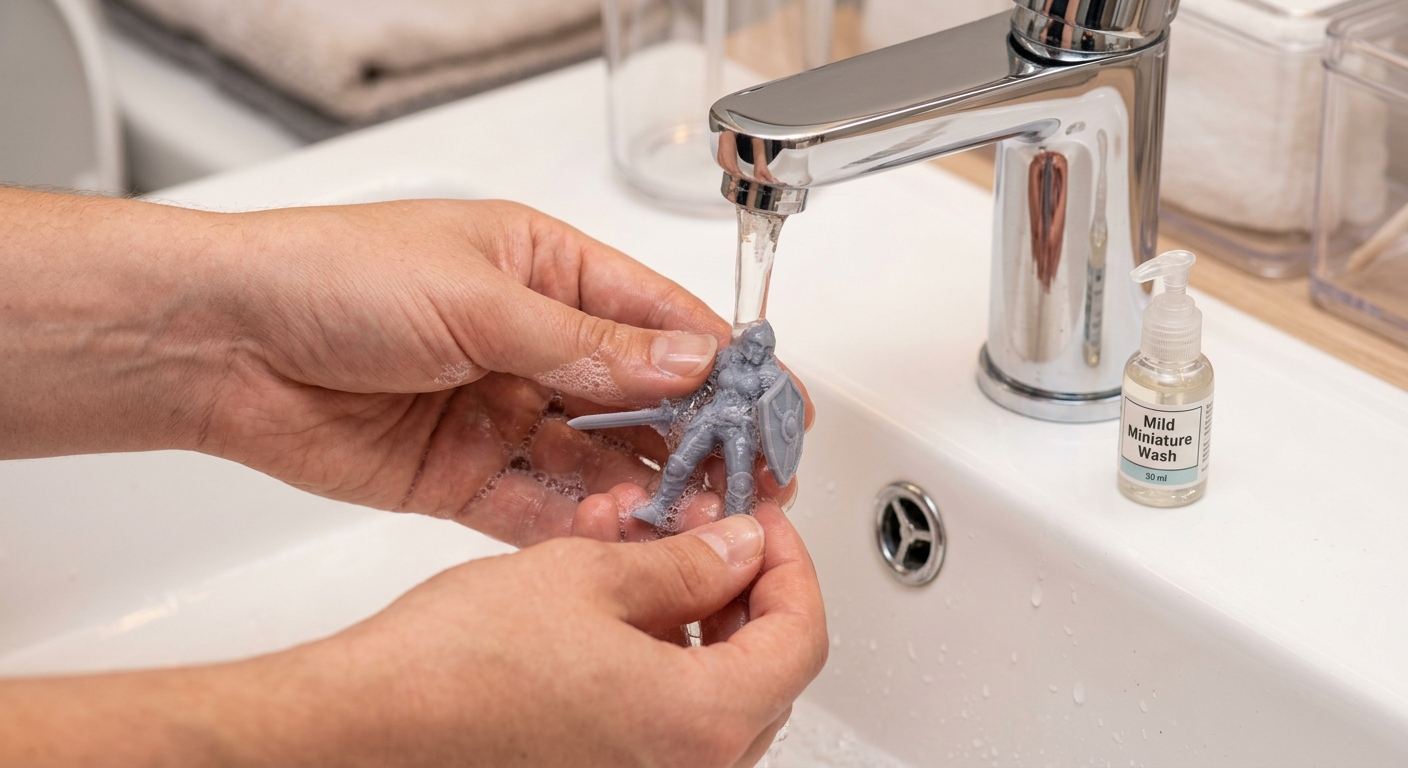
Before any paint touches the model:
-
- Remove support marks with a hobby knife or fine sanding sponge
-
- Wash the model with warm water and a drop of dish soap (removes mold-release residue on resin prints, oils from handling on FDM prints)
-
- Let it fully dry before moving to primer
Step 2: Fill Layer Lines with Filler Primer
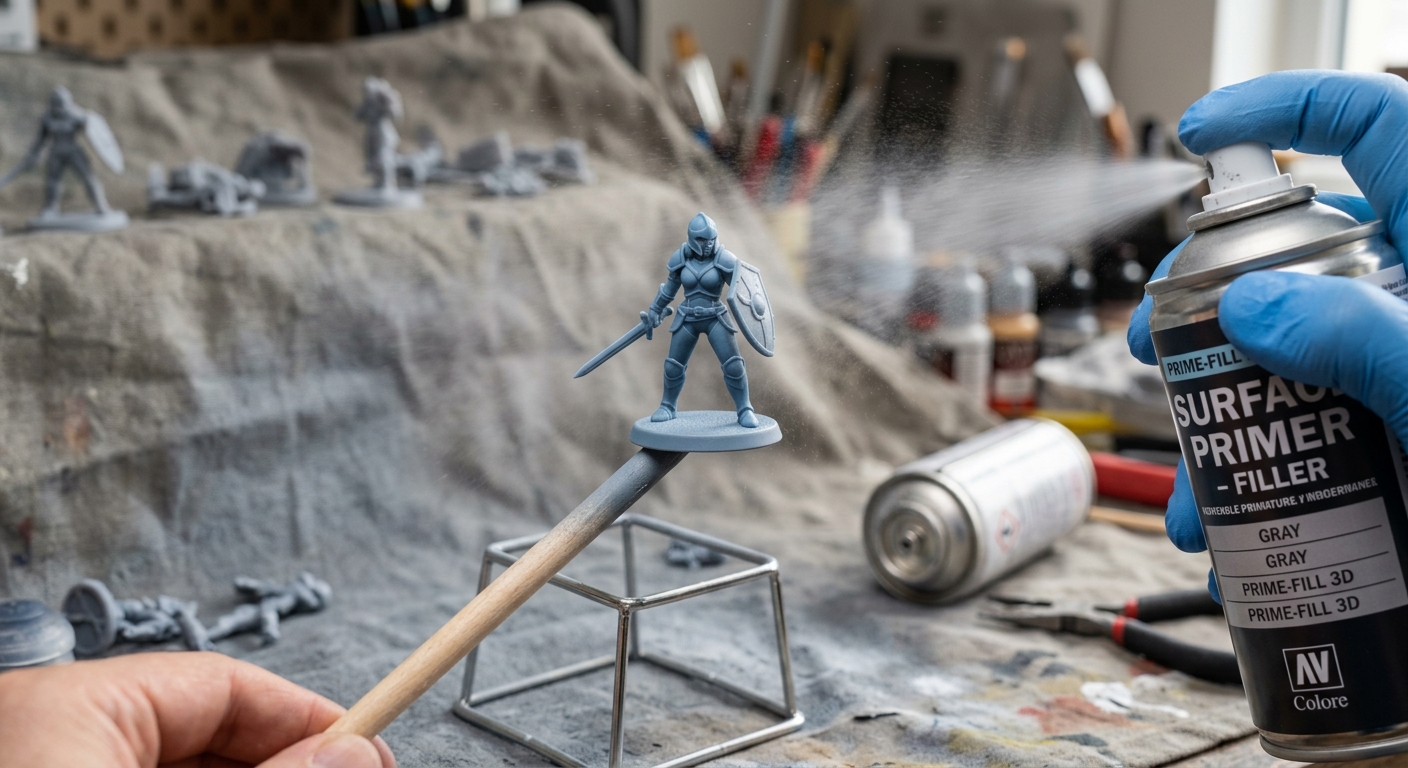
This is the step most beginners skip — and the one that makes the biggest visual difference.
Filler primer for 3d prints is a thicker, sandable primer designed to fill small gaps like layer lines, rather than just adding color. Unlike a standard primer, it builds up enough material to smooth out FDM ridges.
-
- Rustoleum filler primer is one of the most commonly recommended options in the 3D printing community — affordable, widely available, and specifically formulated to fill small surface imperfections
-
- Apply 2–3 light coats rather than one heavy coat (heavy coats can obscure fine details on miniatures)
-
- Light sanding between coats (400–600 grit) smooths things further
-
- For resin prints with already-smooth surfaces, a standard primer is often enough — filler primer is most valuable for FDM prints
Step 3: Choose Your Paint
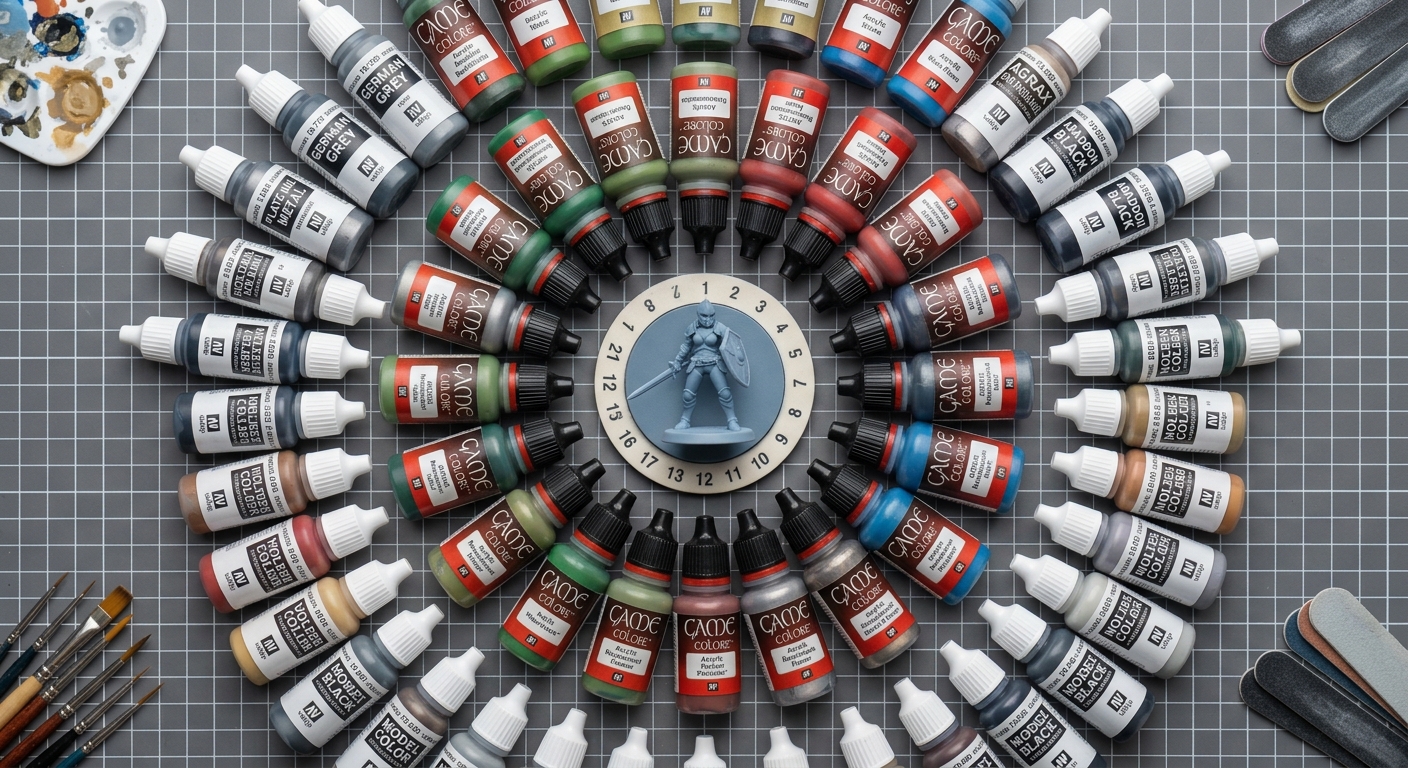
Once primed, you’re ready for color. Here’s what paint to use on 3d printed objects:
Best Options for Beginners
-
- Acrylic paint for 3d prints is the standard choice — water-based, easy to clean up, dries fast, and works on both PLA and resin once primed. This is what most hobby miniature painters use.
-
- Spray paint for 3d prints works well for base coats and large areas, but always prime first — spray paint applied directly to unprimed PLA can sometimes react with the plastic.
What to Avoid
-
- Avoid enamel or oil-based paints unless you know your printed material tolerates the solvents (some can slightly soften certain resins)
-
- Avoid skipping primer — even quality acrylic paint adheres poorly and chips easily on bare, unprimed plastic
Best Acrylic Paint Brands for 3D Prints
-
- Vallejo (widely used in the tabletop miniature community, thin consistency good for layering)
-
- Citadel (Games Workshop’s paint line, designed originally for Warhammer miniatures — a natural match if you’re printing Warhammer-adjacent models)
-
- Army Painter (budget-friendly, good coverage)
Step 4: Apply Base Coats, Layers, and Details
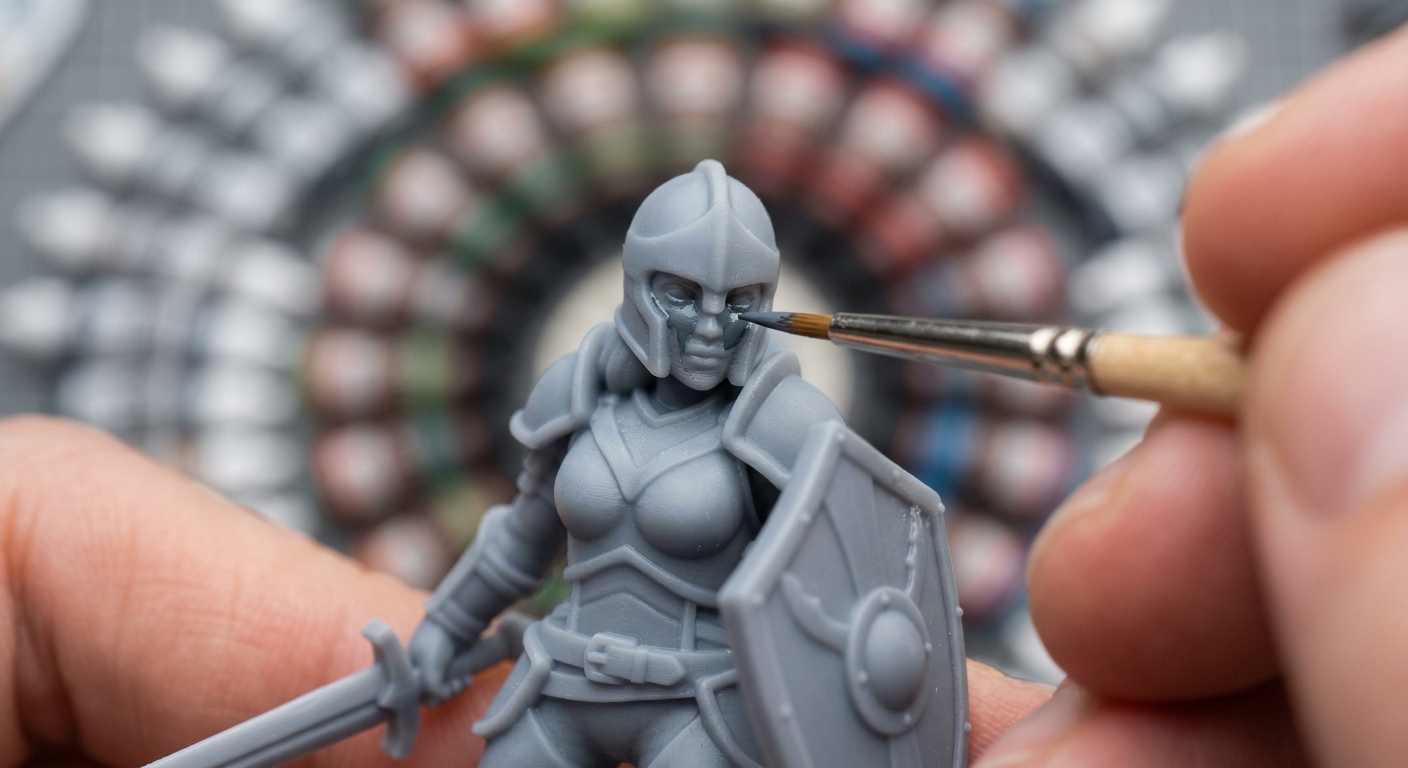
For a simple beginner approach:
-
- Base coat: one or two solid colors covering the main areas
-
- Wash: a diluted dark paint (like a “wash” or “shade”) flows into recesses and adds instant depth
-
- Highlights: a lighter version of your base color, dry-brushed onto raised edges
-
- Details: small brush work for eyes, weapon details, insignia, etc.
This four-step method (base, wash, highlight, detail) is the standard approach used across the tabletop miniature painting hobby and works well on 3D printed figures specifically because it hides minor surface imperfections rather than emphasizing them.
Step 5: Seal the Paint Job
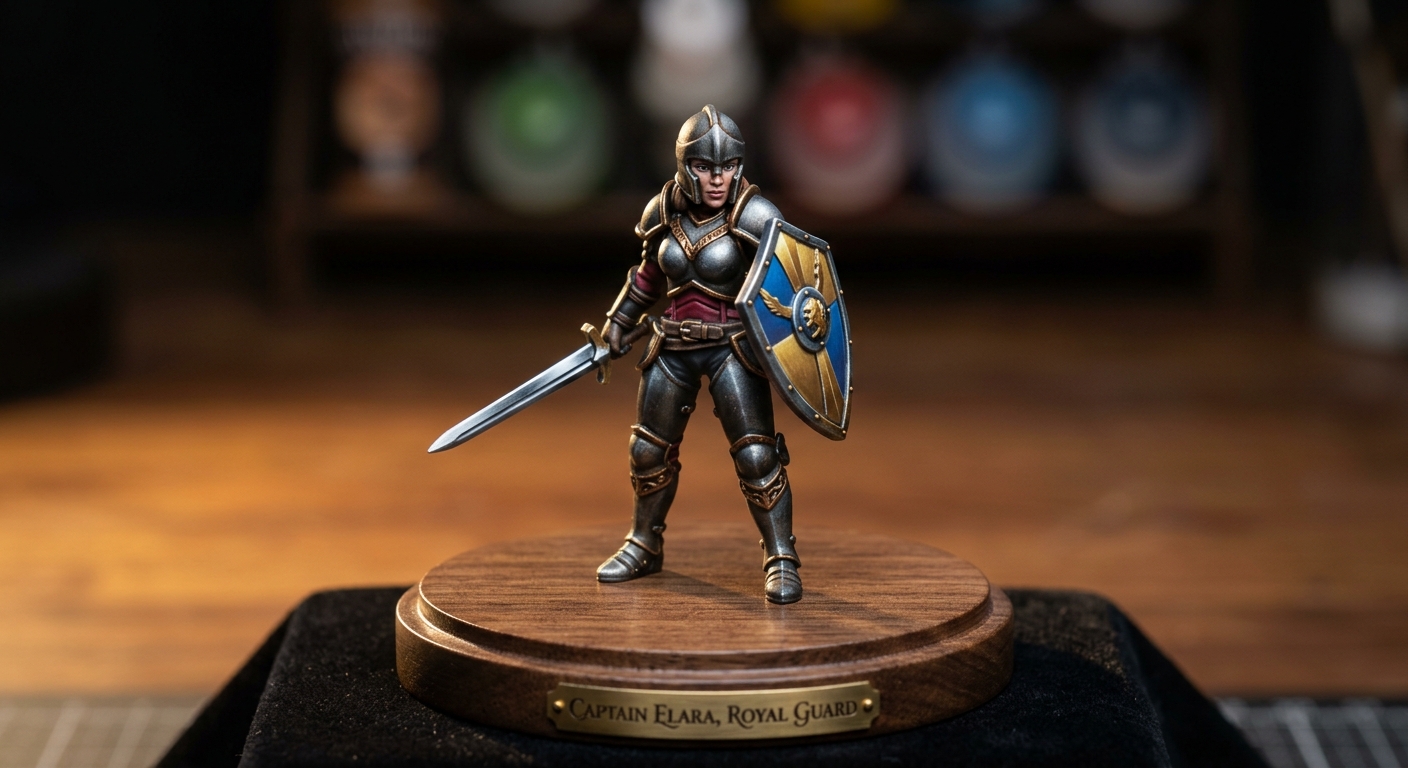
Once painted, seal the model with a clear varnish (matte, satin, or gloss depending on the look you want). This protects the paint from handling wear and gives the model a consistent finish.
Quick Answers: How to Paint 3D Printed Figures
Can you paint 3D printed objects with acrylic paint? Yes — acrylic is the most common and beginner-friendly choice, but always prime the model first for proper adhesion.
What primer should I use for 3D prints? A filler primer (like Rustoleum’s filler primer) for FDM prints with visible layer lines; a standard primer is usually sufficient for smoother resin prints.
Do you need to seal 3D printed miniatures after painting? Yes — a clear sealant/varnish protects the paint job from chipping and handling wear over time.
Where to Get Miniatures Worth Painting
The prep and paint steps above only pay off if the underlying model is detailed and clean to begin with — a poorly-modeled STL will show every flaw even through a great paint job. If you’re looking for high-detail, pre-supported miniature files (Warhammer-style figures, tabletop characters, and display busts), browse the Miniatures collection at STLSpecial — files are optimized for clean prints with minimal layer-line touch-up needed before you even reach for primer.
Final Thoughts
Painting is what turns a 3D printed miniature from “a plastic object” into a display piece. Prep (clean, fill, prime) matters as much as the paint itself — most disappointing results trace back to a skipped prep step, not bad brushwork. Follow the process above and even a first attempt will hold up next to injection-molded miniatures.